How to Make Pie Plate Up: Expert Tips and Tricks
Making a pie plate is fun and easy. You can do it at home. Follow the steps below to make your pie plate.
What You Need
- Pie dough
- Rolling pin
- Pie plate
- Flour
- Knife
- Fork
- Pie weights or beans
- Parchment paper
- Baking sheet
Step 1: Prepare Your Dough
First, make your pie dough. You can buy it or make it. If you buy it, skip to the next step. If you make it, follow this simple recipe:
- 2 1/2 cups flour
- 1 cup cold butter
- 1/4 cup ice water
- 1 teaspoon salt
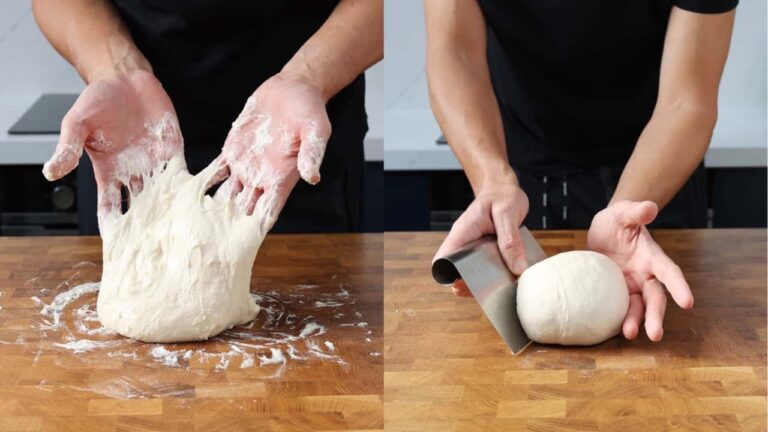
Mix flour and salt in a bowl. Cut butter into small pieces. Add butter to flour. Mix until it looks like crumbs. Add ice water slowly. Mix until dough forms a ball. Wrap in plastic. Chill for 30 minutes.
Step 2: Roll Out the Dough
Sprinkle flour on a clean surface. Take your dough from the fridge. Put it on the floured surface. Use a rolling pin to flatten the dough. Roll it into a circle. Make it about 12 inches wide. This will fit your pie plate.
Step 3: Place Dough in Pie Plate
Carefully pick up the dough. Place it in the pie plate. Press it gently into the plate. Make sure it covers the bottom and sides. Trim any extra dough with a knife.
Step 4: Crimp the Edges
Use your fingers to crimp the edges. This makes the pie look nice. You can also use a fork to press the edges down.
Step 5: Prick the Bottom
Use a fork to prick the bottom of the dough. This helps air escape. It stops bubbles from forming.
Step 6: Add Pie Weights
Place a piece of parchment paper over the dough. Fill it with pie weights or beans. This keeps the dough flat.
Step 7: Pre-Bake the Crust
Preheat your oven to 375°F (190°C). Place the pie plate on a baking sheet. Bake for 15 minutes. Remove the weights and parchment paper. Bake for another 10 minutes. This is called blind baking.
Step 8: Fill the Pie
Let the crust cool. Then, add your favorite filling. You can use fruit, custard, or any other filling.
Step 9: Bake the Pie
Follow your pie recipe for baking time and temperature. Usually, it’s around 375°F (190°C) for 45-60 minutes.
Step 10: Let It Cool
When the pie is done, let it cool. This helps the filling set. Then, it’s ready to eat!

Credit: bakerstable.net
Tips for a Perfect Pie Plate
- Keep your dough cold. This makes it easier to work with.
- Don’t overwork the dough. It can become tough.
- Use a glass or ceramic pie plate. It bakes more evenly.
- Cover the edges with foil if they brown too quickly.
- Let the pie cool completely before cutting. This keeps the filling from running.
Common Mistakes to Avoid
Here are some common mistakes and how to avoid them:
- Overmixing the dough: Mix until it just comes together.
- Not chilling the dough: Chill for at least 30 minutes.
- Skipping the weights: Use pie weights for blind baking.
- Baking at the wrong temperature: Follow your recipe’s instructions.
- Cutting the pie too soon: Let it cool completely.

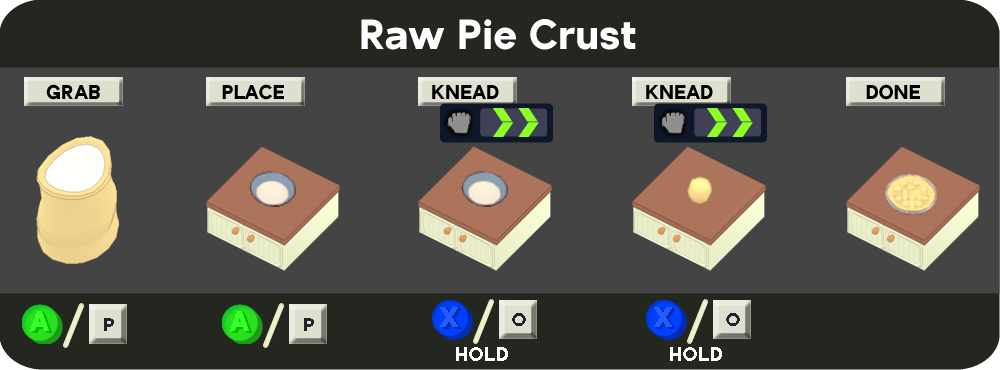
Credit: wiki.plateupgame.com
Different Types of Pie Plates
There are different types of pie plates. Here are a few:
- Glass pie plate: Bakes evenly and you can see the crust.
- Ceramic pie plate: Holds heat well and looks nice.
- Metal pie plate: Heats quickly but can overbrown the crust.
Choose the one that works best for you.
Frequently Asked Questions
What Materials Do I Need For A Pie Plate?
You’ll need a pie plate, flour, sugar, butter, and your pie filling.
How Do I Prepare A Pie Plate?
Lightly grease the pie plate. Then, sprinkle flour to prevent sticking.
Can I Use A Glass Pie Plate?
Yes, a glass pie plate works well. It helps you see the crust’s color.
How Do I Clean A Pie Plate?
Wash with warm, soapy water. Avoid harsh scrubbers to prevent scratches.
Conclusion
Making a pie plate is easy and fun. Follow these steps and tips for a perfect pie every time. Enjoy baking and eating your pie!

“Hi, I’m Rose, a professional baker with a passion for creating delicious treats! From cakes to pastries, I love sharing my baking journey and tips.

