Little Debbie Christmas Wreath Cookies Recipe
Craving Holiday Magic?
There’s something about the holidays that calls for baking, the kitchen smells like cinnamon, the oven warms the house, and everyone seems to gather around for “just one more cookie.” These Little Debbie Christmas Wreath Cookies aren’t just a recipe; they’re a tradition waiting to happen. Soft, spiced dough shaped into festive forms, finished with a sweet jam layer or a drizzle of white chocolate, what’s not to love?

Dough Preparation
Making these cookies is simple and fun, plus, the dough is packed with cozy holiday flavors. Here’s exactly how I do it:
Mixing the Ingredients
I start by grabbing a large glass mixing bowl. First, I add the pumpkin butter, pumpkin spice, and molasses; these create that warm, deep holiday flavor base. I stir them together until they’re blended and smooth.
Next, I pour in the sugar and stir well until it starts to dissolve into the mixture. Then I crack in the egg, mixing it thoroughly until the texture is light and uniform.
Next, I add the baking powder, nutmeg, cinnamon, and allspice. These spices are the heart of the cookie, don’t skimp! I stir everything together until it’s evenly mixed.
Finally, I add the flour little by little, stirring until the dough forms. It should be smooth but not sticky, soft enough to roll later.
Chilling the Dough
Once my dough is ready, I wrap it in plastic wrap and pop it into the fridge for 1 hour. This step is essential; it helps the dough firm up, making it easier to roll out and cut into shapes without sticking or losing form.
Shaping, Baking, and Decorating the Cookies

Rolling and Cutting the Dough
After the dough has chilled for an hour, I lightly flour my work surface and rolling pin. I roll the dough out to about ¼ inch thickness, thin enough to bake evenly but thick enough to hold its shape.
Using my favorite wreath-shaped cookie cutter (you can also use circles, stars, or Christmas trees), I cut out as many cookies as possible from the rolled dough. I transfer each one to a parchment-lined baking sheet, spacing them about 1 inch apart.
Adding the Festive Touch
Before baking, I like to make them extra special. Sometimes I’ll add a thin layer of jam sauce in the center of the wreath or leave them plain for later decorating. This step is completely optional, but trust me, it’s delicious.
Baking the Cookies
I preheat my oven to 350°F (175°C). The cookies bake for 10–12 minutes, just until the edges are slightly golden. Overbaking will make them too crisp, so I keep a close eye on them in the last couple of minutes.
Once baked, I let them sit on the baking sheet for 2 minutes to set, then carefully transfer them to a cooling rack.
Decorating Like a Pro
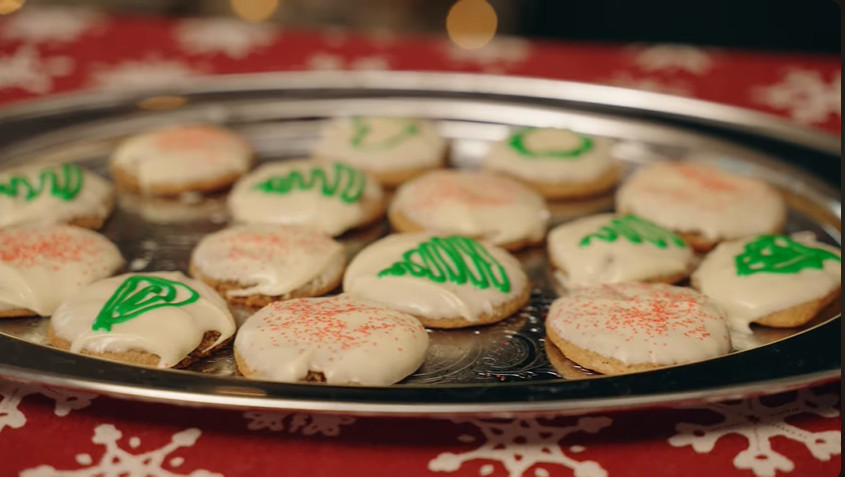
Here’s where the fun really happens. I sometimes drizzle melted white chocolate over the cookies, or dust them with powdered sugar for a snowy effect. For a pop of color, I’ll add a few red and green sprinkles, perfect for that Christmas wreath look.
Serving and Presentation
When it comes to serving these cookies, presentation makes all the difference. I love arranging them on a festive platter lined with holiday napkins; it instantly makes them party-ready. For a cookie exchange, I’ll package them in clear treat bags tied with red and green ribbons so each cookie looks like a mini Christmas gift.
These wreath cookies also make a perfect addition to a holiday dessert table alongside hot cocoa, mulled cider, or spiced tea. And yes, they’re the kind of cookies Santa will definitely appreciate finding by the fireplace.
Storage Instructions
Keeping Them Fresh
Once cooled completely, I store the cookies in an airtight container at room temperature. They stay fresh for up to 5 days without losing their soft texture.
Freezing for Later
If I want to make them ahead, I freeze the baked (and undecorated) cookies in a single layer on a baking sheet. Once frozen, I transfer them to a freezer-safe bag or container, where they keep for up to 2 months. When I’m ready to enjoy them, I let them thaw at room temperature, then decorate as usual.
Little Debbie Christmas Wreath Cookies Recipe
Ingredients
Video
Frequently Asked Questions (FAQ)
1. Can I make the dough ahead of time?
Yes! You can prepare the dough up to 2 days in advance. Just wrap it tightly in plastic wrap and store it in the refrigerator until you’re ready to roll and cut the cookies.
2. What if I don’t have a wreath-shaped cookie cutter?
No problem, you can use any festive shape you like: stars, trees, bells, or even simple circles. To make a wreath look, just cut out a small hole in the center of a circle cookie.
3. Can I substitute pumpkin butter?
Absolutely. If you don’t have pumpkin butter, you can use apple butter, a little extra molasses, or even sweet potato puree for a similar texture and depth of flavor.
4. How do I prevent my cookies from spreading too much?
Make sure your dough is well-chilled before baking, and avoid placing the cookies on a hot baking sheet. If needed, chill the cut cookies for 10–15 minutes before putting them in the oven.
5. Can I freeze the decorated cookies?
You can, but I recommend freezing them before decorating for the best results. If you freeze decorated cookies, wrap them individually in parchment paper to prevent smudging.
6. How can I make these cookies gluten-free?
Use a 1:1 gluten-free baking flour blend in place of all-purpose flour. Make sure your baking powder and spices are certified gluten-free.
Conclusion
Baking Little Debbie Christmas Wreath Cookies is more than just making dessert; it’s creating a moment. The warm spices, soft texture, and beautiful wreath shapes bring holiday cheer to every bite. Whether you serve them fresh from the oven, gift them to loved ones, or save them for a quiet winter night with a cup of cocoa, these cookies are sure to become a cherished tradition in your home.
So grab your apron, turn up the holiday tunes, and let’s make this season a little sweeter, one wreath cookie at a time.

Sophia Smith is a passionate home baker and dessert enthusiast who loves sharing her favorite recipes, baking tips, and kitchen secrets. Through Roses Baking Passion, she inspires others to bake with love and creativity every day.